- CGM
- December 6, 2021

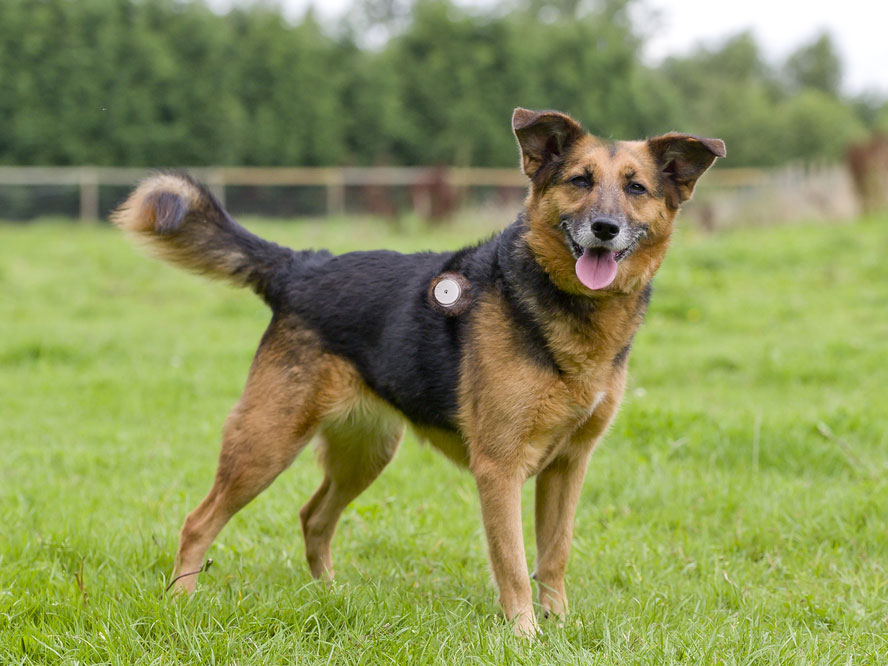
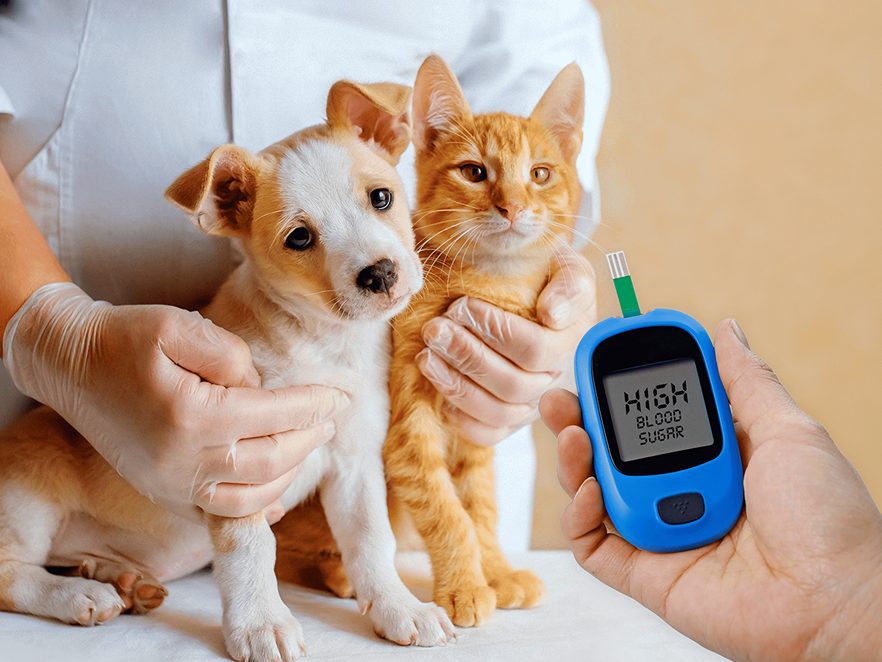
Under veterinary medicine, the advent of technology has surpassed the ongoing traditional methods. CGMs are the new companions of diabetic pet animals for flash glucose monitoring in a faster, easier and less painful way. Now, easily take glucose readings of your pet without stressing the animals like pricking ears, footpads or collecting blood from lips etc. Flash glucose monitoring system provides frequent readings.
A CGM device can help you recognize and analyze the food intakes that can increase the blood sugar level in pets. For instance, adding carbohydrates and protein to a fat meal can dull the post-meal glucose variations. Thus, you can make real-time adjustments in your pet’s physical activities and meal routines to attain long-lasting outcomes.
Let us now understand how to implant a CGM sensor on a pet’s body. For this, follow this passage in order.
1. ASSEMBLE THE REQUIRED THINGS
First and foremost, you must collect the correct CGM device for your pet. We recommend the FirmPet CGM sensor as it is FDA approved and tested. Before beginning the process, you must gather all the needed things like skin glue, shaving razor, clippers, scissors, Artery forceps etc. Apart from things, you can ask an assistant and handler to help you make the pet comfortable.
2. GET A PRESCRIPTION FROM THE VETERINARIAN & CLEAR SKIN
Take an ‘off-label’ prescription from an authorized veterinary doctor before jumping into a CGM device. It assures the legality of using CGM devices on pets. Next, we know, CGMs are implanted directly on the skin. In the case of pets, you must contend with their body hair to install it. Clear a square inch of the pet’s skin with a shaving razor and scissors.
3. PREPARE THE SKIN WITH ADHESIVE
The ideal body spot is after the front legs and a few inches after the spine. Next, use the alcohol wipes in the kit to clean the skin and let it dry. If you witness more dirt on the skin, scrub it with 2% chlorhexidine solution and use a spirit swab to wipe the skin. Apply this adhesive in a doughnut shape. Allow it to air dry for at least 60 seconds.
4. UNBOX THE APPLICATOR AND SENSOR DEVICE
Check the sensor pack and remove its film. Also, undo the sensor applicator device and arrange the dark marks. The applicator is used to implant a sensor on the pet, while the sensor gets the glucose readings and submit data to the FirmPet app. Read the instructions manual provided with the kit to insert the sensor into the application device carefully. You can see the needle but don’t touch it.
5. IMPLANT THE SENSOR ON THE SITE
Hold your pet in a way that it doesn’t move. Place the loaded sensor applicator on the prepared site and press firmly. You can feel and hear the sensor inserted into that spot. Make sure to give a moderate pressure until the click sound is heard. You can use firm pressure around 10-20 seconds later.
6. GENTLY REMOVE THE SENSOR
Now, carefully remove the sensor applicator from the skin. You may use forceps to hold the position of the sensor in the meantime. Prevent accidental ejection of the sensor from the pet by gently doing the task. Apply a small amount of skin glue underneath the paper below the sensor’s circumference. It will ensure the static placement of the sensor.
7. CHECK THE READINGS
Put the reader on the sensor for an instant new patient set up. Usually, it takes over an hour to get the readings after inserting the sensor. You can get the readings directly on the FirmPet app very conveniently. Confirm the accuracy and similarity of readings by comparing them with the actual peripheral blood glucose level readings.
CONCLUSION
To conclude, one can easily implant a CGM sensor over their pet on their own with the help of the guide mentioned above. All sections are thoroughly described to clarify all possible doubts and fears. Consult a professional veterinary doctor before and after placing the CGM sensor.


